
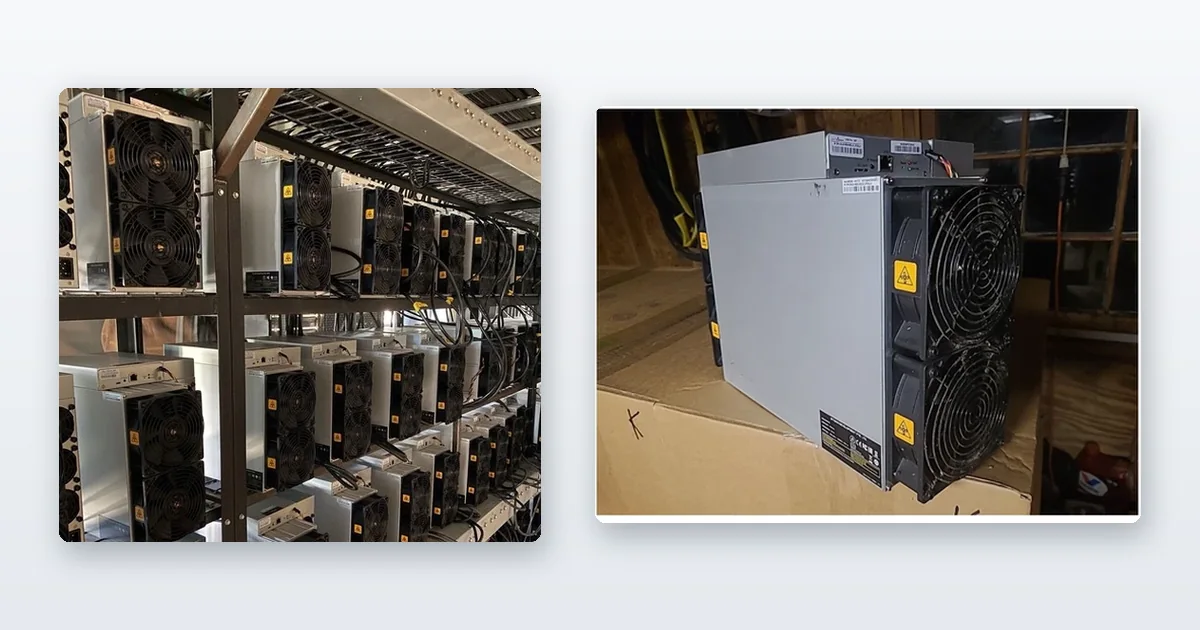
Choose the power before you choose the machine. That is the whole workflow in one line, and it is the reverse of how almost everyone does it. Your electricity rate sets a hard ceiling on which machines can earn at all: break-even $/kWh = hashprice ÷ (24 × J/TH), so at the hashprice measured on 28 July 2026 (≈$31.7/PH/day) a 34 J/TH S19 needs power under 3.9¢ and a 15 J/TH machine needs under 8.8¢. Pick the miner first and you can easily buy one your tariff cannot support.
What follows is the sequence in that order, with what to verify at each step before spending anything on the next. All figures move daily.
If the workflow points you at a second-hand machine, the inspection and freight side of that is worked through separately in how to buy a used ASIC miner.
Step 1: Read your own power bill, before anything else
Not the advertised supply rate — the all-in rate. Take the total dollar amount at the bottom of a recent bill and divide it by the kWh you actually used. That number includes delivery, demand and every rider your utility adds, and it is meaningfully higher than the supply rate people quote when they plan a miner.
That single figure is your ceiling. Rearranged, the break-even formula gives the worst efficiency you can run: J/TH ceiling = hashprice ÷ (24 × your rate). At the ≈$31.7/PH/day above, that is roughly 11 J/TH at 12¢/kWh, 22 J/TH at 6¢, and 44 J/TH at 3¢. Twelve cents eliminates almost the entire used market before you have opened a listing; three cents lets nearly anything on a shelf earn something. Same hardware, same day — the tariff is doing all the work.
Do this first because it is free, it takes ten minutes, and it is the only step that can tell you the answer is “don’t”. The full arithmetic, including what hashprice is and where to read it, is in what to do below break-even.
Step 2: Find out what your circuit can actually deliver
A rate ceiling tells you which machines earn. Your panel tells you which machines you can plug in at all, and these are different constraints — people discover the second one after the pallet arrives.
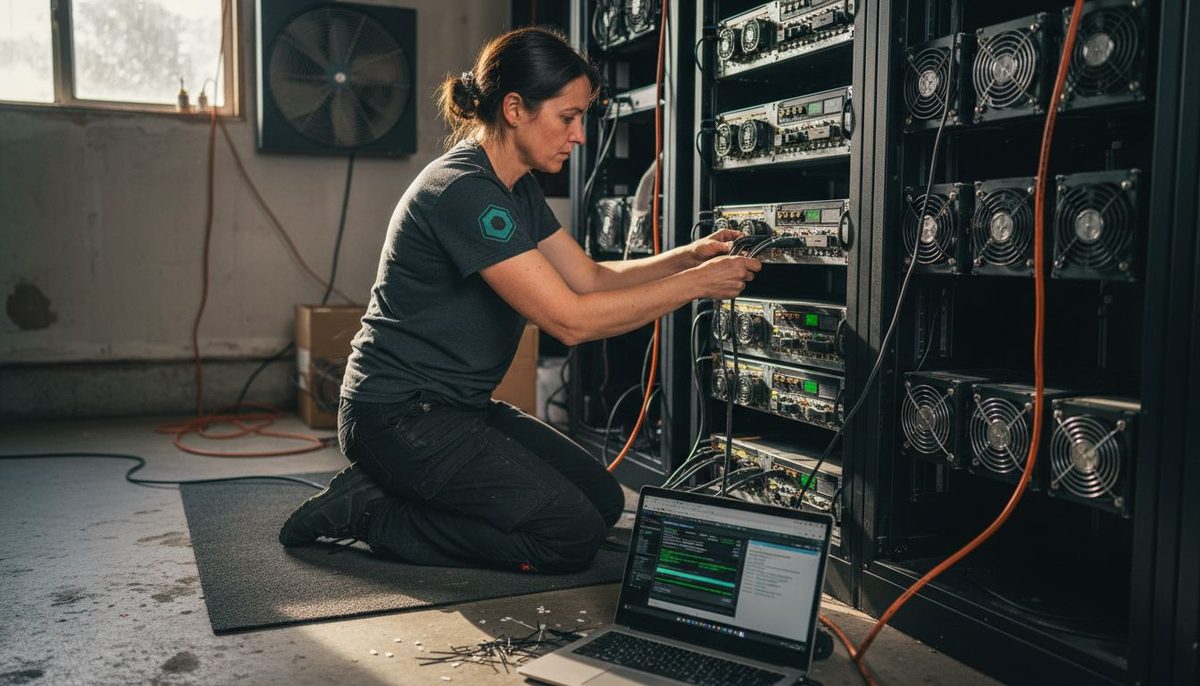
Three things to establish, in this order:
- Voltage. Nearly every current air-cooled ASIC wants a dedicated 200–240 V circuit. A North American 120 V household outlet will not run one under any adapter or configuration, and no amount of firmware tuning changes that.
- Continuous load, not peak. A breaker is rated for continuous draw at 80% of its number. A 3,400 W machine on a 240 V feed pulls about 14 A, so it wants a 20 A circuit to itself, not a share of one.
- Spare capacity at the panel. Two miners is a sub-panel conversation. Ten is a service upgrade, and that is a utility timeline measured in months, not a purchase.
Have an electrician confirm the supply before you order anything. The line-item version of what this costs is in what it actually costs to set up a miner, and where to physically put the machine — noise, heat and neighbours — is in setting up your first miner.
Step 3: Now shortlist machines — the ceiling picks them for you
You arrive at this step with two hard numbers: the worst J/TH your tariff supports, and the wattage your circuit supports. Almost every purchase decision people agonise over has already been made by those two.
What remains is a short list, and the tie-breakers on it are rarely hashrate:
- Cooling type has to match your site. Air, hydro and immersion are not interchangeable. A hydro machine needs a loop, a dry cooler and a pump; buying one for a garage is buying a boat anchor.
- Noise decides whether it can stay. A 75 dB air-cooled miner is a vacuum cleaner that never stops. That is a detached-garage or outbuilding machine, not a spare-bedroom one.
- New versus used is a capital-versus-efficiency trade, and your rate decides which side wins: cheap capital per terahash only helps if the machine’s J/TH still clears your ceiling.
What each spec on the sheet means is in the ASIC miner buying guide; the model-by-model shortlist, ranked by the power price at which each stops earning, is in best ASIC miners 2026.
Both of those are written from the outside in. To check the two numbers you arrived with against actual stock, the ASIC miner comparison table lists every machine we hold with its power at the wall and its J/TH, so the wattage ceiling and the J/TH ceiling can be applied to it directly. The cooling split the first bullet turns on is a shelf each — air-cooled, hydro and immersion — and the capital-versus-efficiency trade in the third is the used shelf against the new one.
Step 4: Buy it — then prove it before the claim window closes
Ordering is the fastest step and the one with the least room to correct a mistake. Two things happen here that are worth separating.
For a single machine on cheap power that is usually a used S19 at $159.99 or an S19k Pro at $379.99; on retail power it has to be current silicon like the S21 Pro 245T, because nothing older clears the bill. At volume the same decision is a lot of 50 refurbished S19s — quoted rather than listed since 11 August 2026, so get the per-machine figure back before you compare it with the single.
Before you pay: get the serial of the actual unit, the seller’s own written definition of whatever condition grade they are claiming, and the terms if it arrives dead. Pay by a method that can be reversed. The full nine-question version of that is in how to vet an ASIC seller.
When it lands: photograph the pallet or box before you open it, keep the packaging, and test the same day. Freight claim windows are short, and a fault found on day two is a conversation while a fault found on day thirty is an argument. The first-48-hours procedure is in acceptance-testing a miner you just received.
That procedure assumes one machine and one bench. The same day, when it is forty machines and not one, has different failure points: the ninety seconds in which you sign for the pallet, reconciling serial numbers against the manifest before the carrier leaves, and powering up in groups rather than closing a single breaker on the whole lot.
Step 5: Install, point it at a pool, and then leave it alone
The install itself is short: dedicated circuit, airflow that takes hot exhaust away rather than round in a circle, a static or reserved IP so you can find it again, and the default password changed. A miner’s web interface on the open internet is a miner someone else configures. The screen-by-screen walkthrough is in how to set up a Bitmain Antminer, and pool choice — which matters far less than payout scheme and fee — is in how to choose a mining pool.
Then resist tuning it for a week. You need a baseline before you can tell an improvement from noise: record the hashrate the pool reports (not the one the miner reports), the board temperatures, and the wattage at the wall.
Step 6: Watch three numbers, not a dashboard
Monitoring goes wrong in one of two directions — nobody looks, or somebody watches every metric and reacts to all of them. Three numbers catch nearly everything that actually costs money:
- Pool-side hashrate over 24 hours. The miner’s own display flatters short windows. A board that has lost chips shows up here as a step down that does not recover.
- Board temperatures, compared with each other. One board running hot is a fan or a paste problem long before it is a failure.
- Wattage at the wall against the pool hashrate. This is your live J/TH, and it is the number that tells you whether step 1’s ceiling still holds. It drifts up as fans age and paste dries.
When the numbers move the wrong way, diagnosing faults by symptom is the place to start, proving the suspect part on the bench is how you avoid replacing the wrong one, and power, cooling and firmware in order covers what actually gets J/TH back.
What the order buys you
Every step above can be done in the wrong order and most people do. The cost is not abstract: buy the machine first and you find out about the circuit afterwards, which is either a $400 electrician visit or a machine you cannot use. Skip the baseline and you have no way to tell whether a tune helped. Skip the acceptance test and you inherit a fault that was the freight company’s problem for about a week.
None of this makes a bad tariff good. That is the point of putting the power bill first — it is the one step that can end the process cheaply, and it is the step almost everyone does last.
Frequently Asked Questions
Why choose the power before the machine?
Because your electricity rate decides which machines can earn at all, and no purchase can fix a rate that is too high. Break-even $/kWh = hashprice ÷ (24 × J/TH), so the rate sets a hard ceiling on efficiency. Choosing the miner first risks buying hardware your tariff cannot support.
What electricity rate should I use in the calculation?
The all-in rate, not the supply rate: divide the total on a recent bill by the kWh you used. That captures delivery and demand charges, which on a US residential bill routinely add 40–60% to the advertised supply rate.
Can I run an ASIC miner on a normal household outlet?
Not a current air-cooled model. Nearly all of them need a dedicated 200–240 V circuit, and a North American 120 V outlet will not run one under any adapter or configuration. Size the circuit for continuous load — 80% of the breaker rating — not for peak.
What should I check before I tune anything?
Record a baseline first and leave the machine alone for a week: pool-side hashrate over 24 hours, board temperatures compared with each other, and wattage at the wall. Without a baseline you cannot tell an improvement from normal variation.
Which numbers are worth monitoring day to day?
Pool-side 24-hour hashrate, per-board temperatures relative to one another, and wattage at the wall against pool hashrate — that last one is your live J/TH and tells you whether the machine still clears the ceiling you set in step one.
Related reading
- What Actually Moves Mining Margin: Five Levers, With the Arithmetic
- Why Your Miner Is Earning Less: Diagnosing ASIC Faults
- Cloud Mining vs Buying Your Own Miner: An Honest Comparison
- Mining 101: A Beginner’s Guide to Cryptocurrency Mining