Nearly half of American miners experience unexpected hardware failures within their first year of operation. This constant risk challenges profitability and day-to-day reliability for both new and veteran cryptocurrency enthusiasts. Proper assessment and preparation of your mining environment set the stage for smoother operations, efficient troubleshooting, and sustained hardware performance. Whether you run a single rig at home or manage a commercial farm, understanding these foundational steps will help you safeguard your American mining investments while maximizing output.
Step 1: Assess and prepare your mining environment
Preparing your mining environment is crucial for maintaining optimal hardware performance and preventing potential operational failures. Your mining setup requires careful evaluation of physical space, electrical infrastructure, cooling capabilities, and environmental conditions to ensure reliable and efficient cryptocurrency mining.
Start by conducting a comprehensive assessment of your designated mining area. This means examining the physical space for adequate ventilation, stable electrical outlets, and sufficient clearance around equipment. Robust environmental controls are essential for preventing hardware degradation and maintaining consistent performance. Pay special attention to factors like ambient temperature, humidity levels, dust exposure, and potential electrical interference that could impact your mining hardware’s functionality.
Ensure your electrical setup can handle the significant power demands of mining equipment. This involves checking circuit breaker capacities, verifying outlet ratings, and potentially consulting an electrician to confirm your infrastructure can support multiple high-wattage miners. Create a dedicated electrical circuit for your mining operation to minimize potential voltage fluctuations or overload risks that could damage expensive hardware.
Pro tip: Install a dedicated temperature and humidity monitoring system to track environmental conditions in real time, helping you proactively manage your mining environment’s performance and equipment longevity.
Here is a comparison of key environmental factors and their impact on mining hardware:
| Environmental Factor | Recommended Range | Business Impact if Unmanaged |
|---|---|---|
| Temperature | 60–75°F (16–24°C) | Premature hardware failure |
| Humidity | 40–60% | Short circuits or corrosion |
| Dust Levels | Minimal/Filtered | Reduced cooling, damage risk |
| Electrical Stability | Dedicated circuits | Downtime, hardware burnout |
Step 2: Diagnose common miner hardware issues
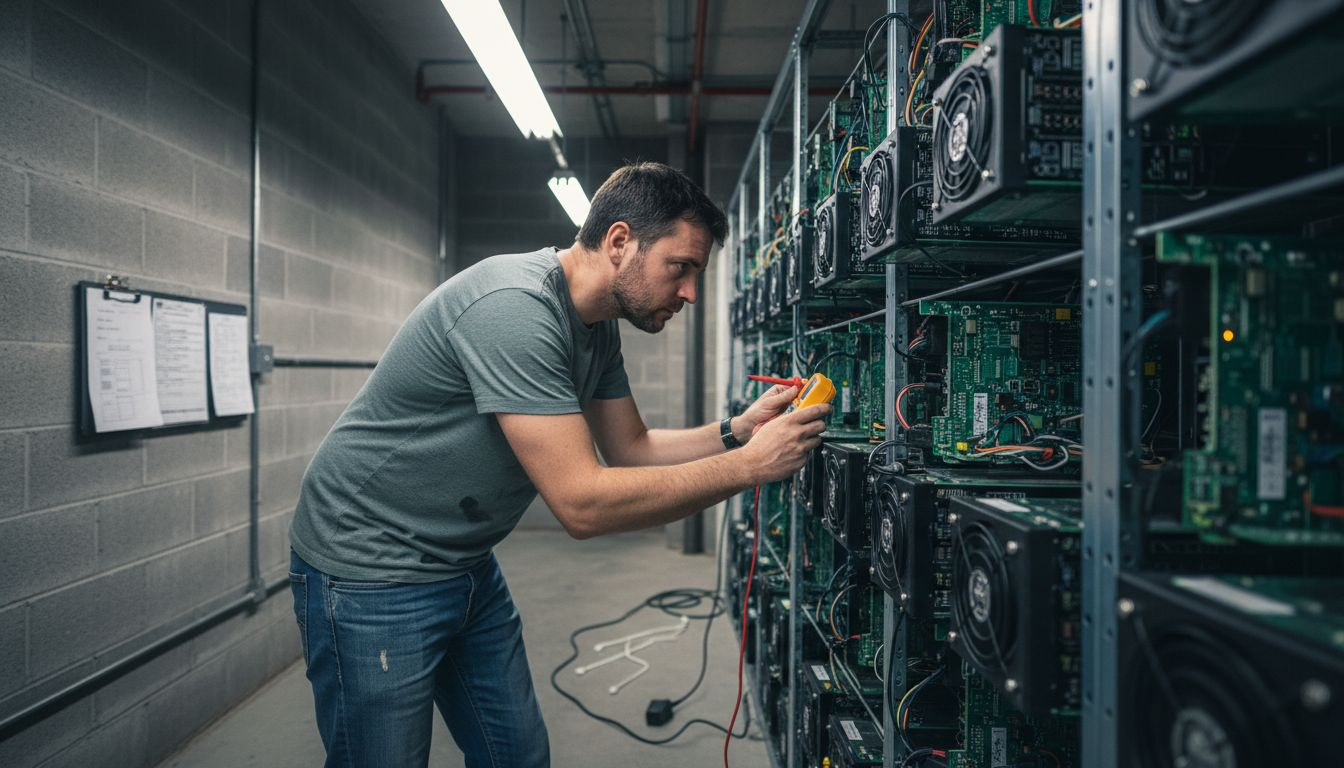
Diagnosing hardware issues is essential for maintaining the performance and longevity of your cryptocurrency mining equipment. This section will guide you through identifying and troubleshooting the most common problems that can impact your mining operation’s efficiency and reliability.
Start by understanding the critical hardware weaknesses that commonly affect mining hardware. These include potential issues with resource isolation, firmware vulnerabilities, and access control problems. Look for warning signs such as unexpected system crashes, unusual heat generation, inconsistent hash rates, or network connectivity problems. Systematic diagnostics begin with visual inspection checking for physical damage, loose connections, or signs of overheating like discolored components or melted plastic around connectors.
Utilize diagnostic tools and monitoring software to perform comprehensive system checks. This involves reviewing system logs, temperature readings, and performance metrics to identify potential hardware failures. Pay close attention to hash rate stability, power consumption fluctuations, and error messages that might indicate underlying hardware problems. If you detect consistent performance anomalies, consider running detailed stress tests to isolate specific component failures or firmware issues that could be impacting your mining equipment’s overall functionality.
Pro tip: Maintain a detailed log of all hardware diagnostics and performance metrics to help you quickly identify recurring issues and track your mining equipment’s long term health and reliability.
Step 3: Inspect and clean ASIC miner components
Maintaining your ASIC mining hardware requires careful and systematic inspection and cleaning to ensure optimal performance and prevent potential damage. Understanding the intricacies of specialized mining chip maintenance is crucial for preserving your mining equipment’s efficiency and longevity.
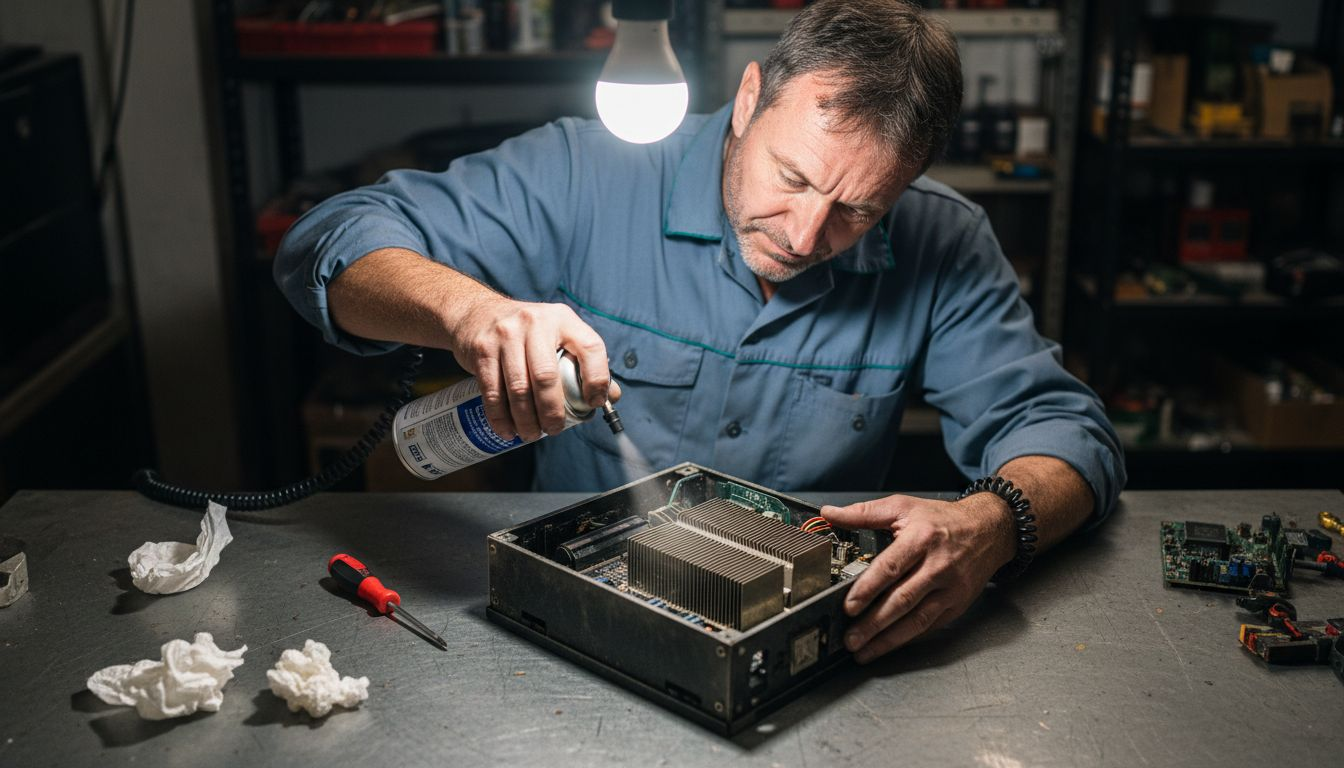
Begin with a comprehensive visual inspection of all ASIC components. Carefully examine each circuit board for signs of dust accumulation, corrosion, or physical damage. Use compressed air with a narrow nozzle to gently remove dust from heat sinks, fan blades, and circuit board surfaces. Exercise extreme caution to prevent electrostatic discharge, which can permanently damage sensitive electronic components. Focus on cooling systems and ventilation areas where dust and debris tend to accumulate most rapidly. Wear anti static wrist straps and work in a clean, well lit environment to minimize potential contamination or accidental damage during the cleaning process.
Pay special attention to thermal management components, including heat sinks, fans, and thermal interface materials. Check for any signs of thermal degradation, such as discoloration, warping, or reduced cooling efficiency. Replace thermal paste if it appears dried out or compressed, as this can significantly impact your miner’s heat dissipation capabilities. Ensure all electrical connections are clean, tight, and free from oxidation or corrosion that could impede electrical performance.
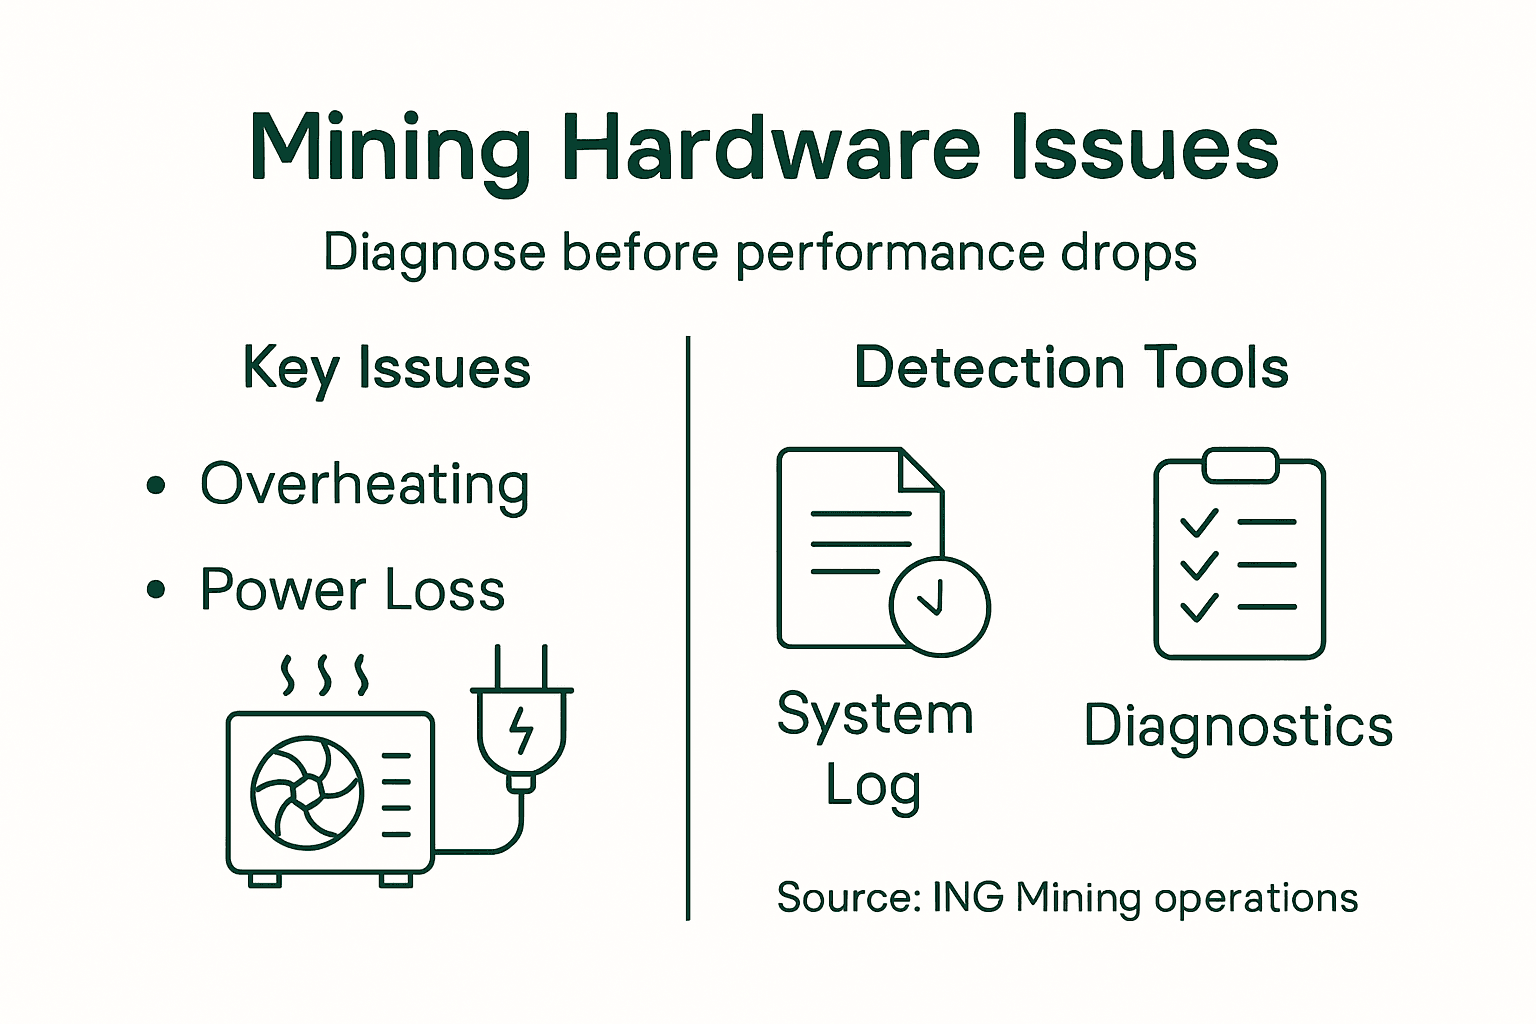
Below is a summary of common ASIC miner failures and detection methods:
| Failure Type | Typical Symptoms | Primary Detection Method |
|---|---|---|
| Overheating | System shutdown, noise | Temperature monitoring tools |
| Power Issues | Reboots, no start | Power supply checks |
| Corrosion | Visible deposits | Visual inspection |
| Fan Malfunction | High temps, odd sounds | Manual fan test, monitoring |
Pro tip: Create a dedicated cleaning station with proper anti static equipment and use manufacturer recommended cleaning supplies to minimize the risk of accidental hardware damage during maintenance.
Step 4: Resolve detected hardware faults safely
Resolving hardware faults requires a systematic and cautious approach to prevent further damage to your mining equipment and ensure your personal safety. Understanding safe mining equipment protocols is crucial for effectively addressing technical issues while minimizing potential risks.
Begin by thoroughly documenting the specific fault symptoms before attempting any repairs. Disconnect the mining hardware from its power source completely and ground yourself to prevent potential electrostatic discharge. Carefully inspect the affected components using proper lighting and magnification if necessary. Look for obvious signs of damage such as burn marks, swollen capacitors, loose connections, or physical deformation. Categorize the fault into specific types heat related, electrical, mechanical or firmware issues to help guide your troubleshooting strategy.
Approach hardware fault resolution with a methodical mindset. Start with the least invasive diagnostic techniques such as firmware resets or software reconfiguration before considering component replacement. When replacement becomes necessary, always use manufacturer recommended parts and follow precise installation procedures. Wear appropriate personal protective equipment including anti static wrist straps and work in a clean controlled environment to minimize the risk of introducing additional complications during the repair process.
Pro tip: Create a dedicated fault tracking log that records every hardware issue including symptoms, diagnostic steps taken, and final resolution to help identify potential recurring problems in your mining setup.
Step 5: Test repaired mining hardware for stability
After repairing mining hardware, a comprehensive stability testing process is essential to ensure your equipment operates reliably and efficiently. Hardware stability verification requires a systematic approach that simulates real world mining conditions and thoroughly evaluates performance across multiple parameters.
Begin with a staged testing strategy that progressively challenges the repaired hardware. Start with low intensity stress tests that gradually increase computational load and monitor critical performance metrics. Use specialized mining diagnostic software to track hash rate consistency, temperature fluctuations, power consumption, and error rates. Pay close attention to thermal performance by measuring component temperatures during extended stress tests. Ensure the hardware maintains stable hash rates without unexpected drops or random computational errors that could indicate incomplete repair or underlying component weakness.
Implement multiple testing protocols to comprehensively validate hardware functionality. Run continuous mining simulations for at least 24 to 48 hours to confirm sustained performance stability. Compare current performance metrics against the hardware original benchmark specifications to verify that repair efforts have fully restored operational capabilities. Document all test results meticulously, recording any anomalies or performance variations that might suggest potential future reliability issues.
Pro tip: Create a standardized testing checklist that includes specific performance thresholds and benchmark criteria to ensure consistent and objective evaluation of repaired mining hardware.
Maximize Your Mining Hardware Performance with ING Mining
Troubleshooting mining hardware issues like overheating, power instability, and hardware faults takes time and expertise. If you want to avoid costly downtime and ensure your ASIC miners operate at peak efficiency, consider partnering with a trusted source that understands the challenges you face. ING Mining specializes in REFURBISHING, TESTING, and VERIFYING used miners to deliver dependable hardware backed by thorough diagnostics and real-world expertise.
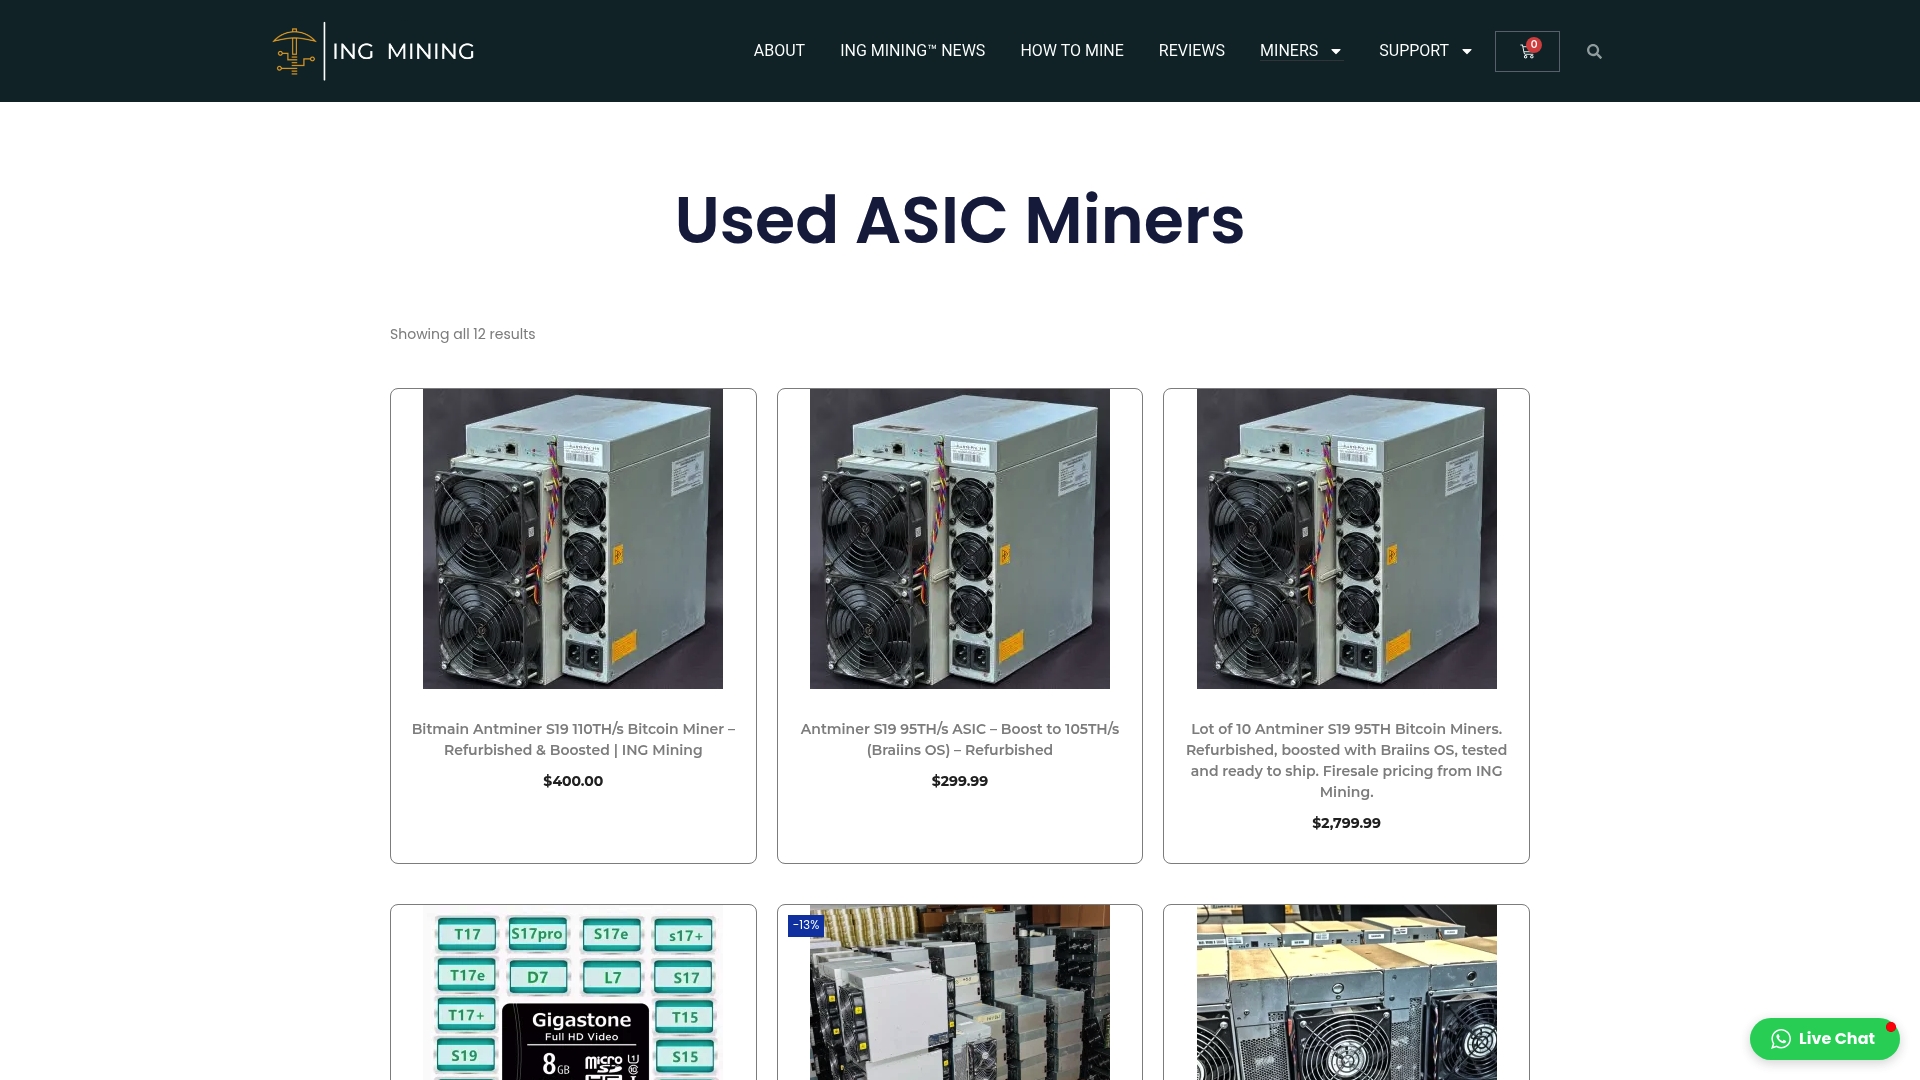
Explore our carefully inspected and performance-tested miners at Used Miners to bypass the headaches of hardware faults and faulty components. With ING Mining, you gain more than equipment — you get hands-on guidance about power requirements, cooling needs, and operational stability so you can make confident, informed decisions today and scale your mining operation successfully tomorrow. Visit ING Mining now and equip yourself with reliable miners built for sustained peak performance.
Frequently Asked Questions
How can I assess my mining environment for optimal performance?
Assess your mining environment by checking the physical space for ventilation, stable electrical outlets, and proper clearance around equipment. Ensure your setup maintains a temperature of 60–75°F and humidity levels between 40–60% to prevent hardware failure.
What are common signs of hardware issues in mining setups?
Common signs of hardware issues include unexpected system crashes, unusual heat generation, and inconsistent hash rates. Start by visually inspecting the equipment for loose connections or damage to address these problems promptly.
How do I clean and maintain my ASIC mining hardware?
Clean your ASIC mining hardware by using compressed air to remove dust from heat sinks and circuit boards, ensuring you wear an anti-static wrist strap. Conduct these cleanings regularly to maintain optimal airflow and prevent overheating, ideally every few weeks or as needed.
What steps should I take to safely resolve detected hardware faults?
To safely resolve hardware faults, document fault symptoms first, then disconnect the power and ground yourself. Inspect components for damage and start with the least invasive fixes before replacing parts, following manufacturer instructions closely.
How can I test my repaired mining hardware for stability?
Test your repaired mining hardware by running low-intensity stress tests initially and progressively increasing the load. Monitor critical performance metrics for 24 to 48 hours to ensure stability and that repairs restored original operational capabilities.
What should I track during the hardware troubleshooting process?
Track diagnostic symptoms, performance metrics, and repair actions in a dedicated log. Maintaining this log will help you identify recurring issues, improving your mining setup’s reliability over time.
Recommended
- 5 Tips for Maximizing Your Cryptocurrency Mining Profitability | ING MINING™
- [Mining 101: A Beginner’s Guide to Cryptocurrency Mining ] | ING MINING™](https://ingmining.com/mining-101-a-beginners-guide-to-cryptocurrency-mining/)
- Top Tips for Successful Cryptocurrency Mining | ING MINING™
- Antminer BTC Miners Archives | ING MINING™